December 22, 2021
14 Holiday Craft Ideas
Need help decorating your house for Christmas? We are here to help! Check out how we used our NEW Holiday Mesh Stencils below to get inspired!
Check out our NEW Stencils below:
Tote Bag:
Supplies Needed:
How To:
- Apply Mesh Stencil To Tote Bag
- Load Squeegee With Gel Art Ink
- Apply Gel Art Ink On Top Of Stencil
- Remove Stencil


Tea Towel:
Supplies Needed:
How To:
- Apply Mesh Stencil To Tea Towel
- Load Squeegee With Gel Art Ink
- Apply Gel Art Ink On Top Of Stencil
- Remove Stencil
- Heat Press

Doormat:
Supplies Needed:
How To:
- Apply Stencil To Surface
- Load Squeegee With Gel Art Ink
- Apply Gel Art Ink On Top Of Stencil
- Remove Stencil
- Let Dry

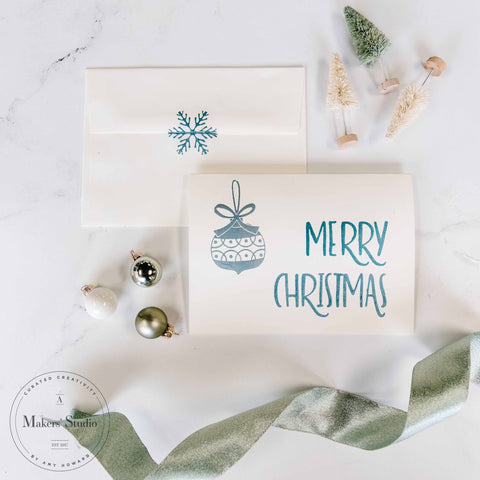
Stationery:
Supplies Needed:
How To:
- Apply Stencil To Stationary
- Load Up The Artist Brush With Gel Art Ink
- Apply Gel Art Ink On Top Of Stencil
- Remove Stencil
- Allow To Dry


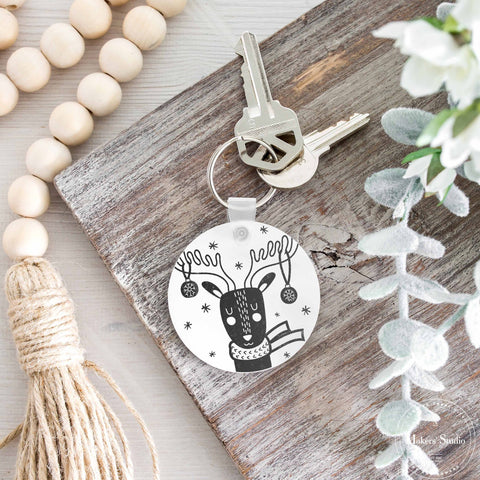
Key Chain:
Supplies Needed:
How To:
- Apply Stencil To Surface
- Load Squeegee With Gel Art Ink
- Apply Gel Art Ink On Top Of Stencil
- Remove Stencil
- Let Dry

Apron:
Supplies Needed:
How To:
- Apply Stencil To Surface
- Load Squeegee With Gel Art Ink
- Apply Gel Art Ink On Top Of Stencil
- Remove Stencil
- Let Dry
- Heat Press

Blanket:
Supplies Needed:
How To:
- Apply Stencil To Surface
- Load Squeegee With Gel Art Ink
- Apply Gel Art Ink On Top Of Stencil
- Remove Stencil
- Let Dry
- Heat Press

Wall Sign:
Supplies Needed:
How To:
- Apply Stencil To Surface
- Load Squeegee With Gel Art Ink
- Apply Gel Art Ink On Top Of Stencil
- Remove Stencil
- Let Dry

Gift Tag:
Supplies Needed:
How To:
- Apply Stencil To Surface
- Load Squeegee With Gel Art Ink
- Apply Gel Art Ink On Top Of Stencil
- Remove Stencil
- Let Dry

Outdoor Sign:
Supplies Needed:
How To:
- Cut Stencil
- Apply To Wood Sign
- Load Squeegee With Gel Art Ink
- Apply Gel Art Ink To Sign
- Remove Stencil
- Let Dry


Decorative Sign
Supplies Needed:
How To:
- Apply Mesh Stencil To Sign
- Load Squeegee With Chalk ART
- Apply Chalk ART On Top Of Stencil
- Remove Stencil
- Let Dry

Christmas Mug
Supplies Needed:
How To:
- Apply Mesh Stencil To Mug
- Load Artist Brush With Ceramic Paint
- Apply Ceramic Paint On Top Of Stencil
- Remove Stencil
- Let Dry

Decorative Sign
Supplies Needed:
How To:
- Apply Mesh Stencil To Sign
- Load Squeegee With Chalk ART
- Apply Chalk ART On Top Of Stencil
- Remove Stencil
- Let Dry

Crew Neck
Supplies Needed:
How To:
- Apply Mesh Stencil To Crew neck
- Load Squeegee With Gel Art Ink
- Apply Gel Art Ink On Top Of Stencil
- Remove Stencil
- Let Dry
- Heat Press


Leave a comment